
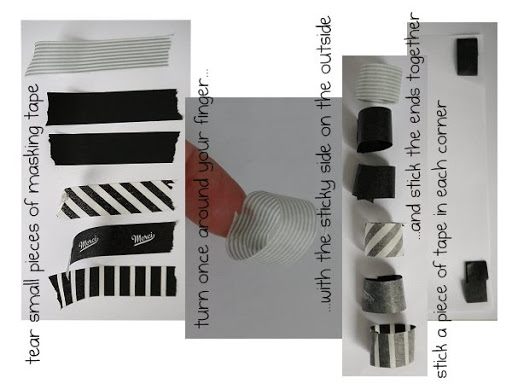
For many of you it may be clear, but believe me I get many emails with questions on where to find images like I used here: Inspire and even more on how to attache them to the wall. So if you sent me a email about this, you were not the only one wondering…
Japanese masking tape is great to vary with and play around with in our homes! And I do still love it but for me personally the big masking tape hype is a bit over as I have made so many boards with them. I still love to use a little black tape to maybe attach one or two simple images to the wall. But with making large picture walls I am back to where it all started, a simple tape loop on the back.
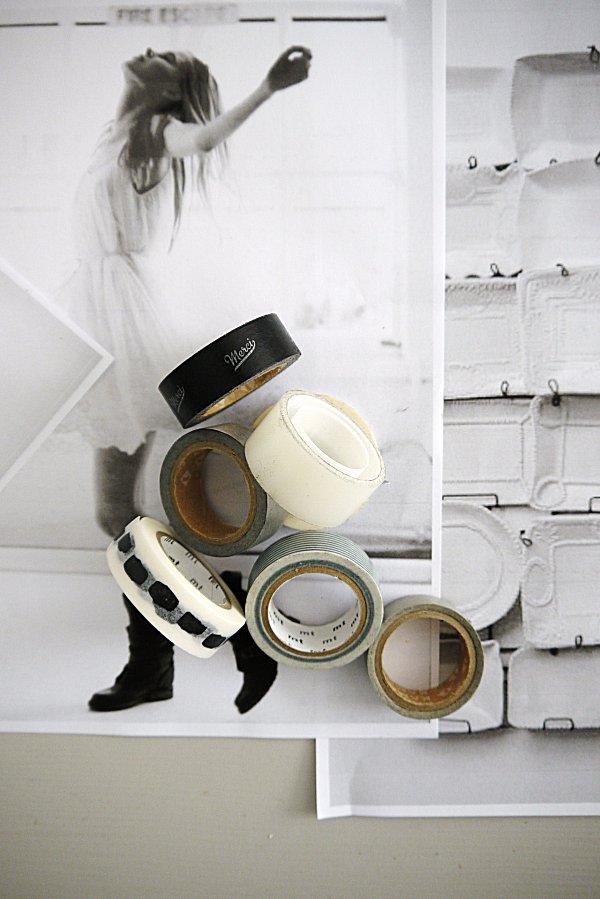
If you print the pictures on A4 sized paper, try not to use paper that is too thin as you might see the tape shine through like you see at some on the pictures in the moodboard in this post (I used black tape there) Enjoy and keep sending me your moodboards!